I took an image from my daughter's pinky Hello Kitty, while learn how to operate my
Nikon D5100
in Manual Mode and White Balance setting.
 |
| The color is too yellowish, ruined pinky Kitty. Too noisy, it's is ISO 12500. |
 |
| Photo after editing. Nothing special, but I learn how to correct color and reduce noise. |
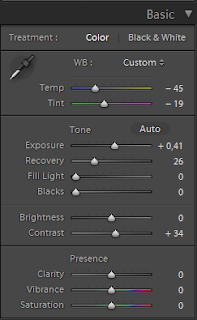 |
| In Basic module, try the Auto White Balance (WB) first, and make adjustment until you get the most you like. Make adjustment for exposure and contrast. | |
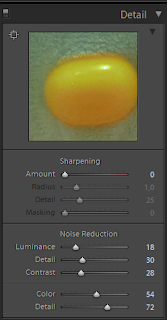 |
| In Detail module, try to adjust Noise Reduction. Be careful, too much reduction will make your subject look a like "plastic", notice that the Kitty has fluff. |
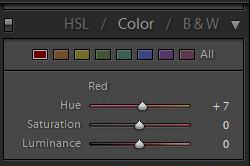 |
| Make color adjustment to bring back the pink. |
What I learned:
-Make adjustment slowly and carefuly. Try to slide the slider one by one step, and take a look how it affect your image. You may also click the number right to slider, and enter the value you consider the best.
-Its better to take noisy (high ISO as compensation for high shutter speed) rather than low noise image but fuzzy/blury (low ISO and low shutter speed). The blurry image cannot be corrected into sharp image :).
Thats it!


