Managing DNS with cPanel is easy, but you must be careful. If you make mistake, your domain can not be accessed. In this example, i will show you how to configure DNS for a website. Later, you will be able to manage your subdomain, email server etc..
I use free DNS registration from
www.co.cc and free hosting from
x10hosting.com.
Go to www.co.cc, register your desire name. I register gadgetizor.co.cc. Select Manage Domain on dashboard to set up it.
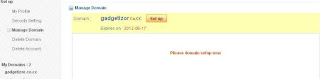 |
| Click Please domain setup now. |
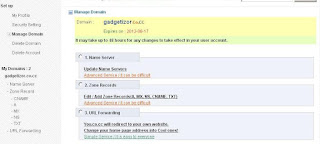 |
| We chose second option |
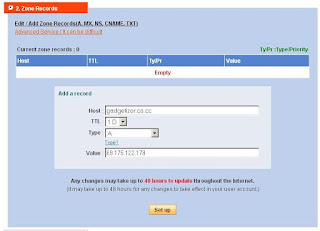 |
| Enter host name, my domain gadgetizor.co.cc, select type: A, Value: IP address of web server. Click Set up to save configuration. |
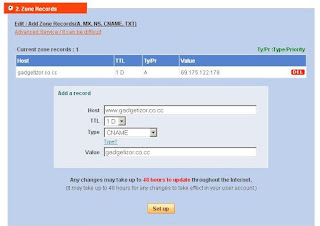 |
| Enter www on Host, select CNAME on type, enter your domain on Value. I enter gadgetizor.co.cc |
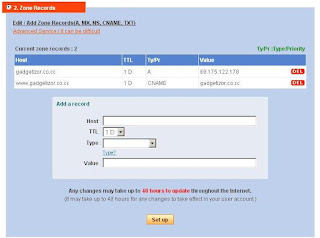 |
| Our configuration as screenshot above. Its enough now. Later we can configure sub domain, email server etc.. |
Prepare our host:
At x10hosting, you are allowed to create multiple domain. I chose to use add on domain, and leave my main account. Go to cPanel dashboard, scrolldown to see DOmains section. Select Addon Domains to create a new domain.
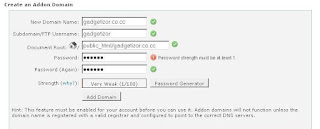 |
| We create Addon domain, enter our domain name as example above. |
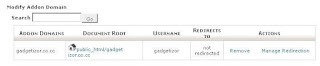 |
| Our configuration saved. |
Our Document root in example above is /public_html/[domain name]. This is the place we upload our PHP script. I upload Codeigniter.
Normally, our set up will take about 24 ours. You can check it with DOS command:
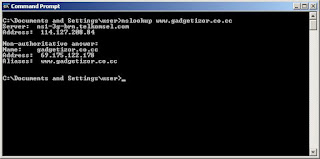 |
| My domain is propagated. |
Its time to test on browser:
If you buy a paid service hosting, such
www.GoDaddy.com , they will set up it for you free.
Please feel free to ask question below on Facebook comment :).


